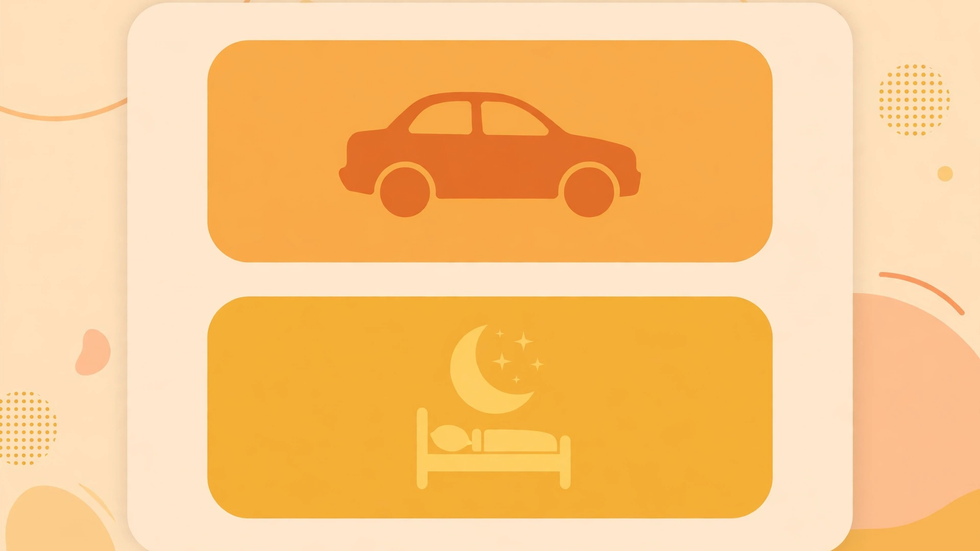
A macro can do almost anything on your phone, but triggering it still usually means opening an app, finding a list, and tapping a small row of text. Scenes change that interaction completely. A scene is a small custom screen you design yourself — a panel of buttons, labels, sliders, and readouts that appears exactly when you need it and disappears when you dismiss it. With MacroDroid Scene Manager you can build a driving panel with three large buttons, a bedtime panel with a single calming control, or a household panel that the whole family can understand at a glance. This guide shows how to design scenes that are clear, safe, and genuinely useful, and how to share them with another phone without sharing anything private.
Scenes matter because they match the interface to the moment. While driving, you need large targets and almost no reading. While cooking, you need a timer control you can hit with a damp finger. While winding down at night, you need one quiet button, not a menu of options. A generic macro list serves none of those moments well, but a purpose-built scene serves one of them perfectly. The skill is not learning every widget; it is deciding what belongs on the panel and what should be left out. Every element you add costs attention, so a good scene feels almost empty — and that emptiness is the point.
Prerequisites
You need MacroDroid installed with Scene Manager available, plus at least one working macro that the scene will trigger, so you can test the panel against a real result rather than a placeholder. Decide before you build which moment the scene serves, who will use it, and where it will appear: as a floating overlay, a full-screen panel, or a notification-style display. Sketch the layout on paper first, with boxes for each button and label, because moving elements on paper is free and moving them in the editor takes time. Keep the wording short — two words per button at most — and choose actions that are safe to trigger by accident, or add a confirmation step for anything irreversible such as sending a message or changing a system setting.
Sharing requires a second device running MacroDroid, or a way to transfer the scene file or macro export between phones. Never include personal data in a scene you plan to share: no phone numbers, addresses, passwords, private web addresses, or account details baked into button labels or actions. If a shared scene needs a personal value, leave that field blank and explain what the recipient should enter. Back up your macros before experimenting, so a scene experiment cannot disturb a routine you rely on.
Step-by-Step Setup
Step 1: Create a new scene
Open MacroDroid, find Scene Manager, and create a new scene. Give it a plain name that describes its moment, such as “Driving Panel” or “Bedtime Controls”, rather than a clever name you will forget. Choose the scene type: a dialog-style panel suits quick choices, while a full-screen scene suits a dedicated control panel you will keep open for a while. Set the background to a solid, high-contrast colour so buttons stand out, and keep the initial size modest — you can enlarge it later once the elements are placed. Save the empty scene before adding anything, so you always have a clean starting point to return to.
Step 2: Add buttons that trigger macros
Add your first button and link it to a macro using the Show Scene action’s companion controls, or more commonly by assigning the button a macro trigger through the scene’s button configuration. Label it with a verb, such as “Start Driving” or “Silence Phone”, and pick an icon that matches the action. Size the button generously: on a driving panel, a button should be at least a thumb’s width, and neighbouring buttons need clear gaps so a bump in the road does not cause a wrong tap. Repeat for each action, but stop at five or six buttons. If you need more, you need a second scene, not a crowded one. Test each button as you add it, confirming the macro actually runs.
Step 3: Add labels and live information
A panel of bare buttons can confuse a new user, so add short labels that explain context: the current mode, the time a routine ends, or a reminder of what happens next. You can display a variable’s value on the scene, such as a countdown, a step count stored in a variable, or a simple on-or-off state. Keep live text brief and update it only when it matters; a label that flickers every second distracts more than it informs. Place labels above the buttons they describe, not beside them, because eyes scan top to bottom on a small panel. Use a font size you can read at arm’s length, and check it with the phone’s brightness lowered.
Step 4: Control how the scene appears and closes
A scene is only useful if it shows at the right time and leaves politely. Configure the macro that shows the scene: a trigger such as connecting to car Bluetooth, plugging in a charger at night, or tapping a home screen tile. Equally important is the close behaviour — a visible close button, dismissal on a back press, or automatic closure after a set time. A scene that traps the user on screen will be disabled quickly, however clever it is. For safety-critical panels, such as driving, make the close control large and place it away from action buttons so it cannot be hit by accident. Test the full cycle: trigger, appear, act, dismiss.
Step 5: Style for readability, not decoration
Choose two colours at most: one for the background and one accent for primary actions, with secondary buttons in a muted tone. Avoid patterned backgrounds behind text, because they destroy readability at a glance. Keep corner rounding and spacing consistent, so the panel feels like one designed object rather than a collection of parts. If the scene will be used at night, test a dark version; if it will be used outdoors, test it in sunlight. Accessibility is not an extra step here — large text, strong contrast, and generous spacing are what make a scene usable for everyone, including you when you are tired or rushed.
Step 6: Share the scene with another phone
To share, export the scene together with the macros it triggers, using MacroDroid’s sharing or export options, and transfer the file to the other phone by a method you trust. On the receiving phone, import the scene and macros, then walk through every button before using it live: confirm each macro exists, each permission is granted, and each action is safe on that device. Replace any device-specific values, such as a Bluetooth device name or a contact, with the recipient’s own values. Never share a scene that sends messages, makes calls, or changes settings without warning the recipient exactly what each button does. A short note — one line per button — prevents most misunderstandings.
Testing and Verification
Test the scene in the real situation it was designed for, not just at your desk. Sit in the car and try the driving panel, stand in the kitchen and try the cooking panel, and use the bedtime panel with the lights low. Check that buttons respond on the first tap, that labels update correctly, and that the scene closes cleanly every time. Test on the receiving phone after sharing, because screen sizes, permissions, and installed apps differ between devices, and a button that works on your phone may fail on another. Confirm that dismissing the scene never leaves a macro half-run, and that showing the scene twice does not stack two copies on top of each other.
Troubleshooting
If a scene does not appear, check the macro that shows it: its trigger, constraints, and the Show Scene action’s target name must match exactly, including capital letters. If a button does nothing, verify its macro link and run that macro directly to separate a scene problem from a macro problem. If a scene appears but looks broken — overlapping elements or cut-off text — reduce the number of elements or enlarge the scene, and check the layout on the actual device rather than only in the editor. If an imported scene misbehaves, re-link its buttons one by one; imports sometimes lose a reference when a macro name differs. If a scene will not close, add an explicit close button and check that no other macro is immediately reshowing it in a loop.
Tips
Design for one moment, not for every possibility; a scene that tries to do everything becomes the cluttered list it replaced. Keep a master copy of each shared scene so you can re-export it after improvements. Version your scenes informally — “Driving Panel v2” — so recipients know whether they have the latest one. Ask the recipient to test each button and report back before relying on the scene, especially for household or family use. Finally, revisit your scenes every few months: routines change, and a panel built for last winter’s schedule may no longer match this season’s life.
Frequently Asked Questions
What is a MacroDroid scene?
A scene is a custom panel you design with buttons, labels, and displays that trigger macros or show information. It replaces a generic list with an interface built for one specific moment.
Can scenes run macros on their own?
No. A scene displays controls; a macro shows the scene, and buttons on the scene trigger macros. You still need working macros behind every button.
Is sharing a scene safe?
Sharing is safe when the scene contains no personal data and every button’s action is explained. Always review imported scenes button by button before using them live.
Why does my shared scene look different on another phone?
Screen size, font scaling, and display settings vary between phones. Test the imported scene on the receiving device and adjust sizes and spacing there.
Can a scene appear automatically?
Yes. Any macro trigger — such as Bluetooth connection, charging, time, or location — can show a scene through the Show Scene action, and another action can dismiss it.